
Ads help pay for the hosting and maintenance of this site. Thank you for visiting!
Instructions for how make a simple six-sided paper snowflake
Here’s the Sky Diary Kidstorm tutorial on how to make an authentic-looking paper snowflake. Well, at least it’s authentic in being six-sided. The creativity part is up to you.
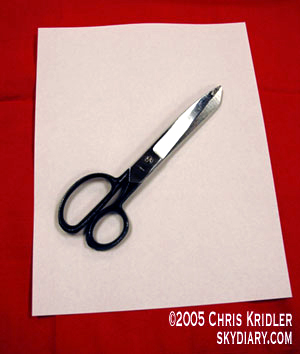
Here’s all you need to make your own six-sided snowflake: a piece of paper and a pair of scissors.
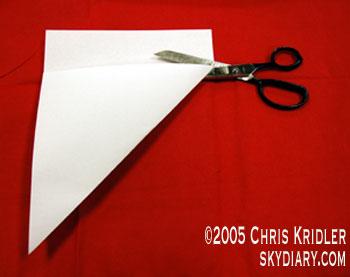
Fold one corner of the paper up so that the edges meet.
Then cut off the “tab” at the end, leaving you with the folded triangle.
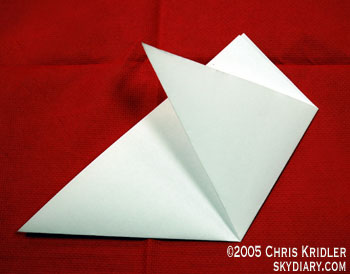
Put the triangle flat-edge down and, using the center of the bottom as an imaginary center line, fold up the right corner so the point sticks up over the left edge.
Fold up the left corner so its point sticks up over the right edge.
Make sure the folded edges line up.
You may have to adjust the folds to ensure that they are snug.
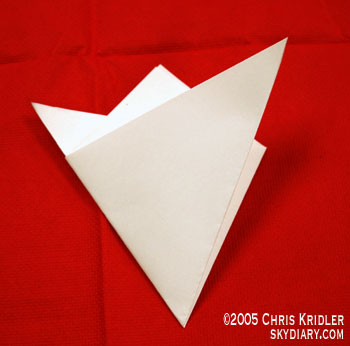
You’ll end up with an ice-cream-cone shape.
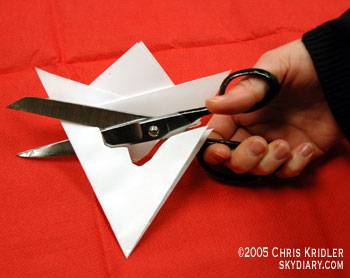
Now cut a “V” shape between the points where all the folds come together, as you see in the picture.
This is a jagged “V” because you are actually cutting the edges of the snowflake. Although you can cut a straight “V,” the edges of your snowflake will be more interesting if you get a little fancy.
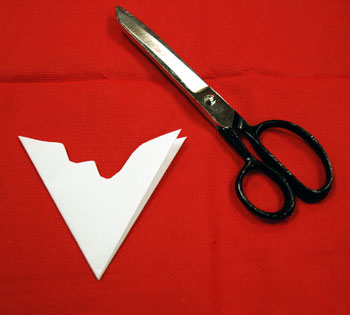
Here’s what the “V” looks like when you’re done cutting.
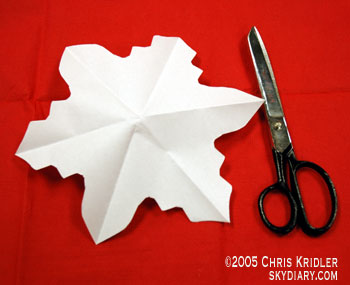
If you want a sneak preview of what your authentic six-pointed flake looks like, unfold the “V.” But make sure you fold it up again … you aren’t done!
Cut shapes out of your folded flake.
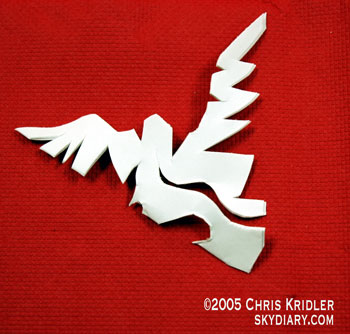
If you think ahead, you can end up with interesting cutouts in the unfolded flake – for instance, trees, hearts and birds.
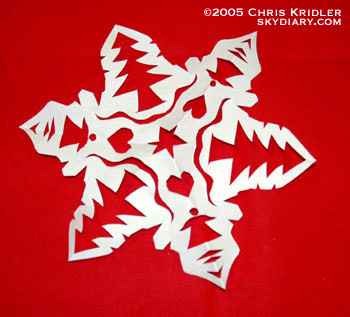
Unfold your flake to see your finished work of art.
If you aren’t happy, you can always fold it and make a few more cuts.
And with enough paper, you can make a blizzard!